How to Make Slime with Elmer’s Glue
Materials:
- 2 Bottles of Elmer’s glue (5-6 oz each bottle)– Clear, Glitter Glue, or White Glue
- ½ – 1 tsp of Borax
- 1 cup hot water, ½ cup water
- Big, wide bowl
- Liquid watercolor or food coloring (optional)
- Glitter (optional)
- Confetti (optional)
- Vinegar
- Gloves
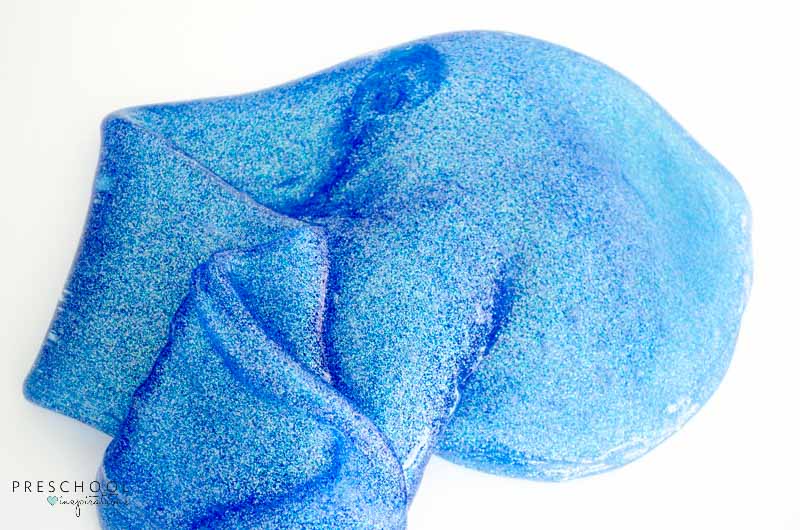
I recommend using two bottles because you want to get a perfect consistency of slime, and the second bottle is a backup. Make them one at a time though so that you can adapt the second one if necessary. Getting the perfect consistency the first time doesn’t always go so smoothly, so I like having the second bottle to make my slime completely perfect!
My favorite slime is made of clear glue or glitter glue (both Elmer’s). But Elmer’s white glue works as well. You are able to see through the clear glue or glitter glue, but white glue looks more like the substance many of us remember as silly putty.
Borax is available online, but it is much more affordable in the grocery stores. You will find it where cleaning detergents are located.
Bowl 1 – Water and Borax Mixture
Find a nice sized bowl. You will need to squish the slime in it, so make sure it is big and wide enough.
Mix one cup of hot water in the bowl with ½ tsp of borax. Dissolve completely.
You will want to hold onto this mixture, even after your slime is made! If you find that your slime is too stretchy or turns sticky after a few minutes of playing, you’ll be glad you didn’t dump this out!
Allow the borax and water to cool as you prep you the next step.
Bowl 2 – Glue and Water Mixture
Mix one container of Elmer’s glue (5-6 oz) with ½ cup of water. You won’t want to skip this step. The glue needs to be watered down and separated to prevent a slime fail. I find that a container with a pour spout is perfect for this.
Use a whisk to stir them together. You want it to be completely mixed, so this may take a few minutes.
Add a squirt of liquid watercolor or a few drops of food coloring. This is also when you want to stir in any glitter. Fine glitter will show up really small and make your slime glisten. Big glitter will add a pop of color and fun. Here is a gorgeous gold glitter slimefrom Fun at Home with Kids with the large glitter.
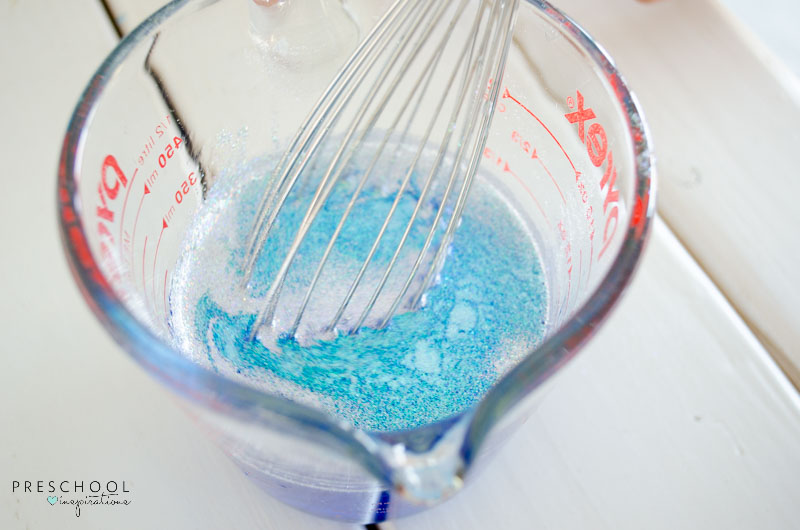
If you use Elmer’s glitter glue, which is already colored, you don’t have to use coloring or glitter. But you can add extra if you want more.
Combine the two!
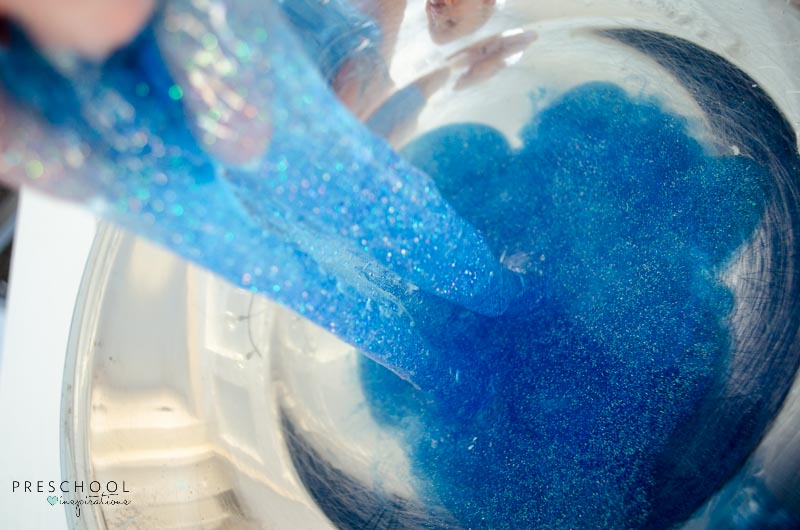
Now it’s time to pour your glue mixture into the big bowl with the borax and water mixture.
Watch for a minute as the glue mixture starts to polymerize! It’s such a cool sight to see.
Then, start squishing the slime to help it absorb as much of the borax and water mixture as possible. Feel free to wear gloves or to stir with a spoon if you would prefer. I recommend that the adult does this part.
The slime will feel quite sticky or chunky for a minute or two but keep squishing, kneading, stirring, or mixing. Do this for two to three minutes.
Once it isn’t feeling sticky or chunky, pull it out and knead it some more.
Hopefully, you will have an amazing slime that is perfect to stretch, bend, and mold. Lastly, add any confetti to your slime. Here is our slime with a touch of snowflake confetti.
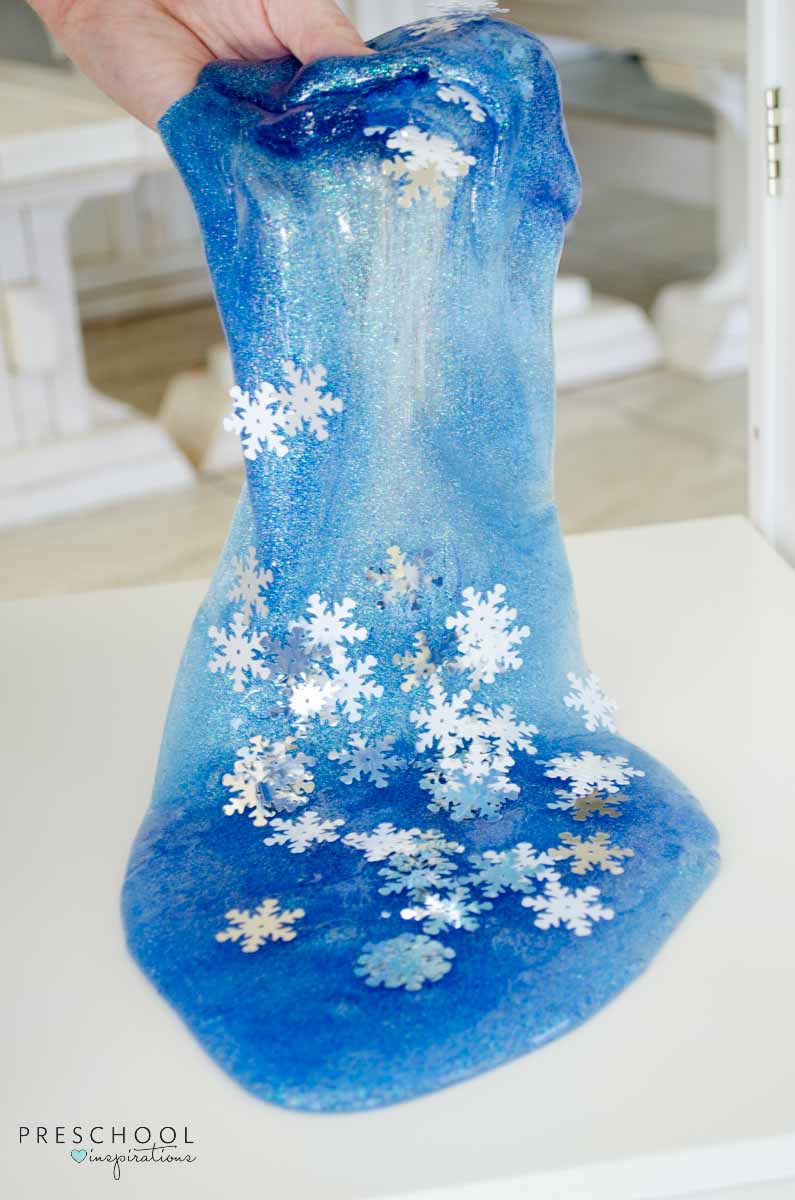
You can even jazz up your slime with some snowflakes or other confetti, plastic creatures, cookie cutters, or anything other fun play items. I avoid putting anything wood into slime, but there are so many other toys or craft materials you could use!
Getting the right texture
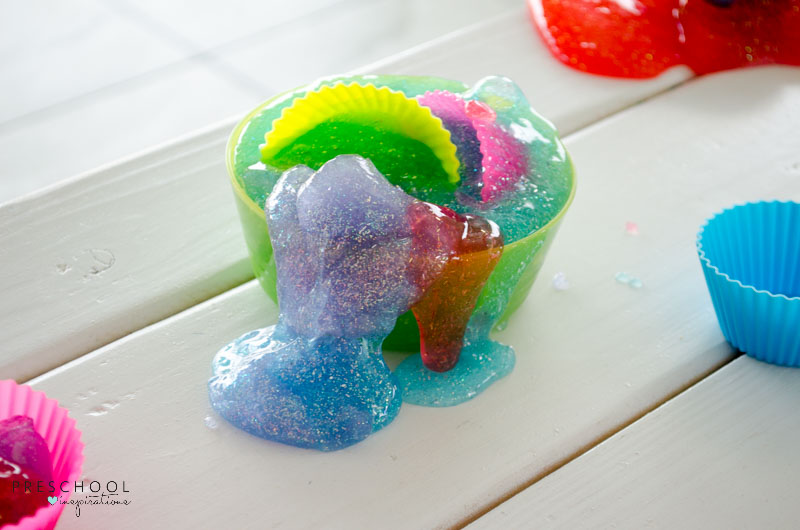
I like my slime to have a nice amount of stretch without being sticky or rubbery. Finding that perfect amount takes a little bit of practice. If you love how your slime turned out, then just repeat this recipe for the second bottle of glue.
Slime that is too sticky
If your slime is feeling too sticky, put it back into the bowl and squish it into the water some more. If this doesn’t help, add another ¼ tsp of borax to the water mixture and then try putting the slime back into the mixture again.
Slime that is too stretchy
If your slime is too stretchy, add ¼ tsp of borax to the water and stir until it dissolves. Now put the slime back into the borax and water and squish again.
Slime that is too rubbery
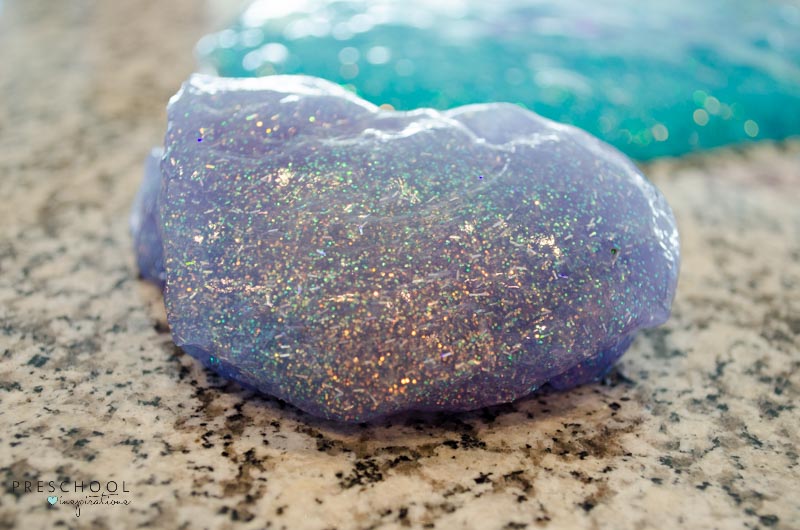
Here is super rubbery slime!
Sometimes this will fix itself after it has been played with for several minutes and gets warmed up.
If it’s still too rubbery after being warmed up, then you will make another batch of slime that is super stretchy. Then combine the two slimes, and they melt together to make a great consistency. Pictured below is a super stretchy slime with a rubbery one on top of it. When they combined, it was perfect consistency!
Once they blend together, knead them for a minute or two, and your slime will feel so much better!
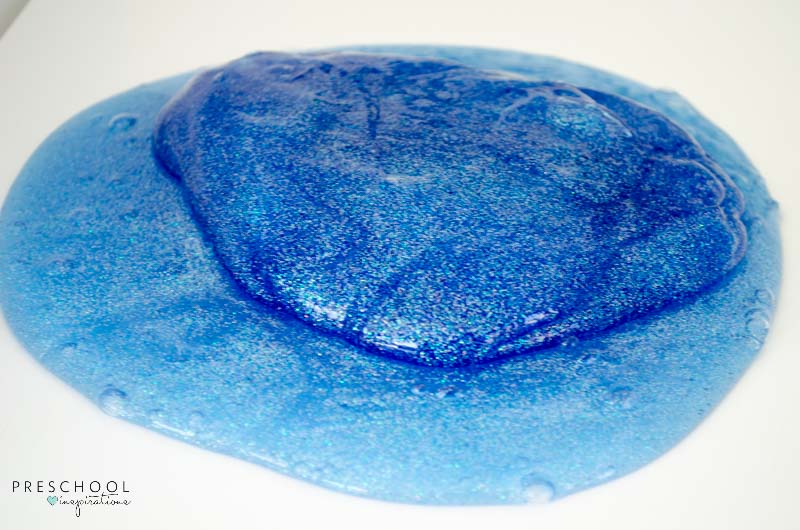
The way to make a super stretchy slime is to use only ¼ tsp of borax when you make the water and borax mixture.
That’s where the second glue bottle comes in handy!
Remove Slime from Hair or Clothes
Once you get playing with the slime, you will need vinegar if any gets on clothes or hair. The vinegar will dissolve it right away!
Storing Slime
Store your slime in a bag or airtight container. We use our slime for weeks, but just keep an eye on it. If you accidentally leave your slime out for a few hours, it should recover. Just put it in a bag and bring it out in a day.
I hope this slime recipe helps you make slime that is perfect the first time!
No comments:
Post a Comment